
How to clean Lego collections? All solutions here!| Mark's Magic
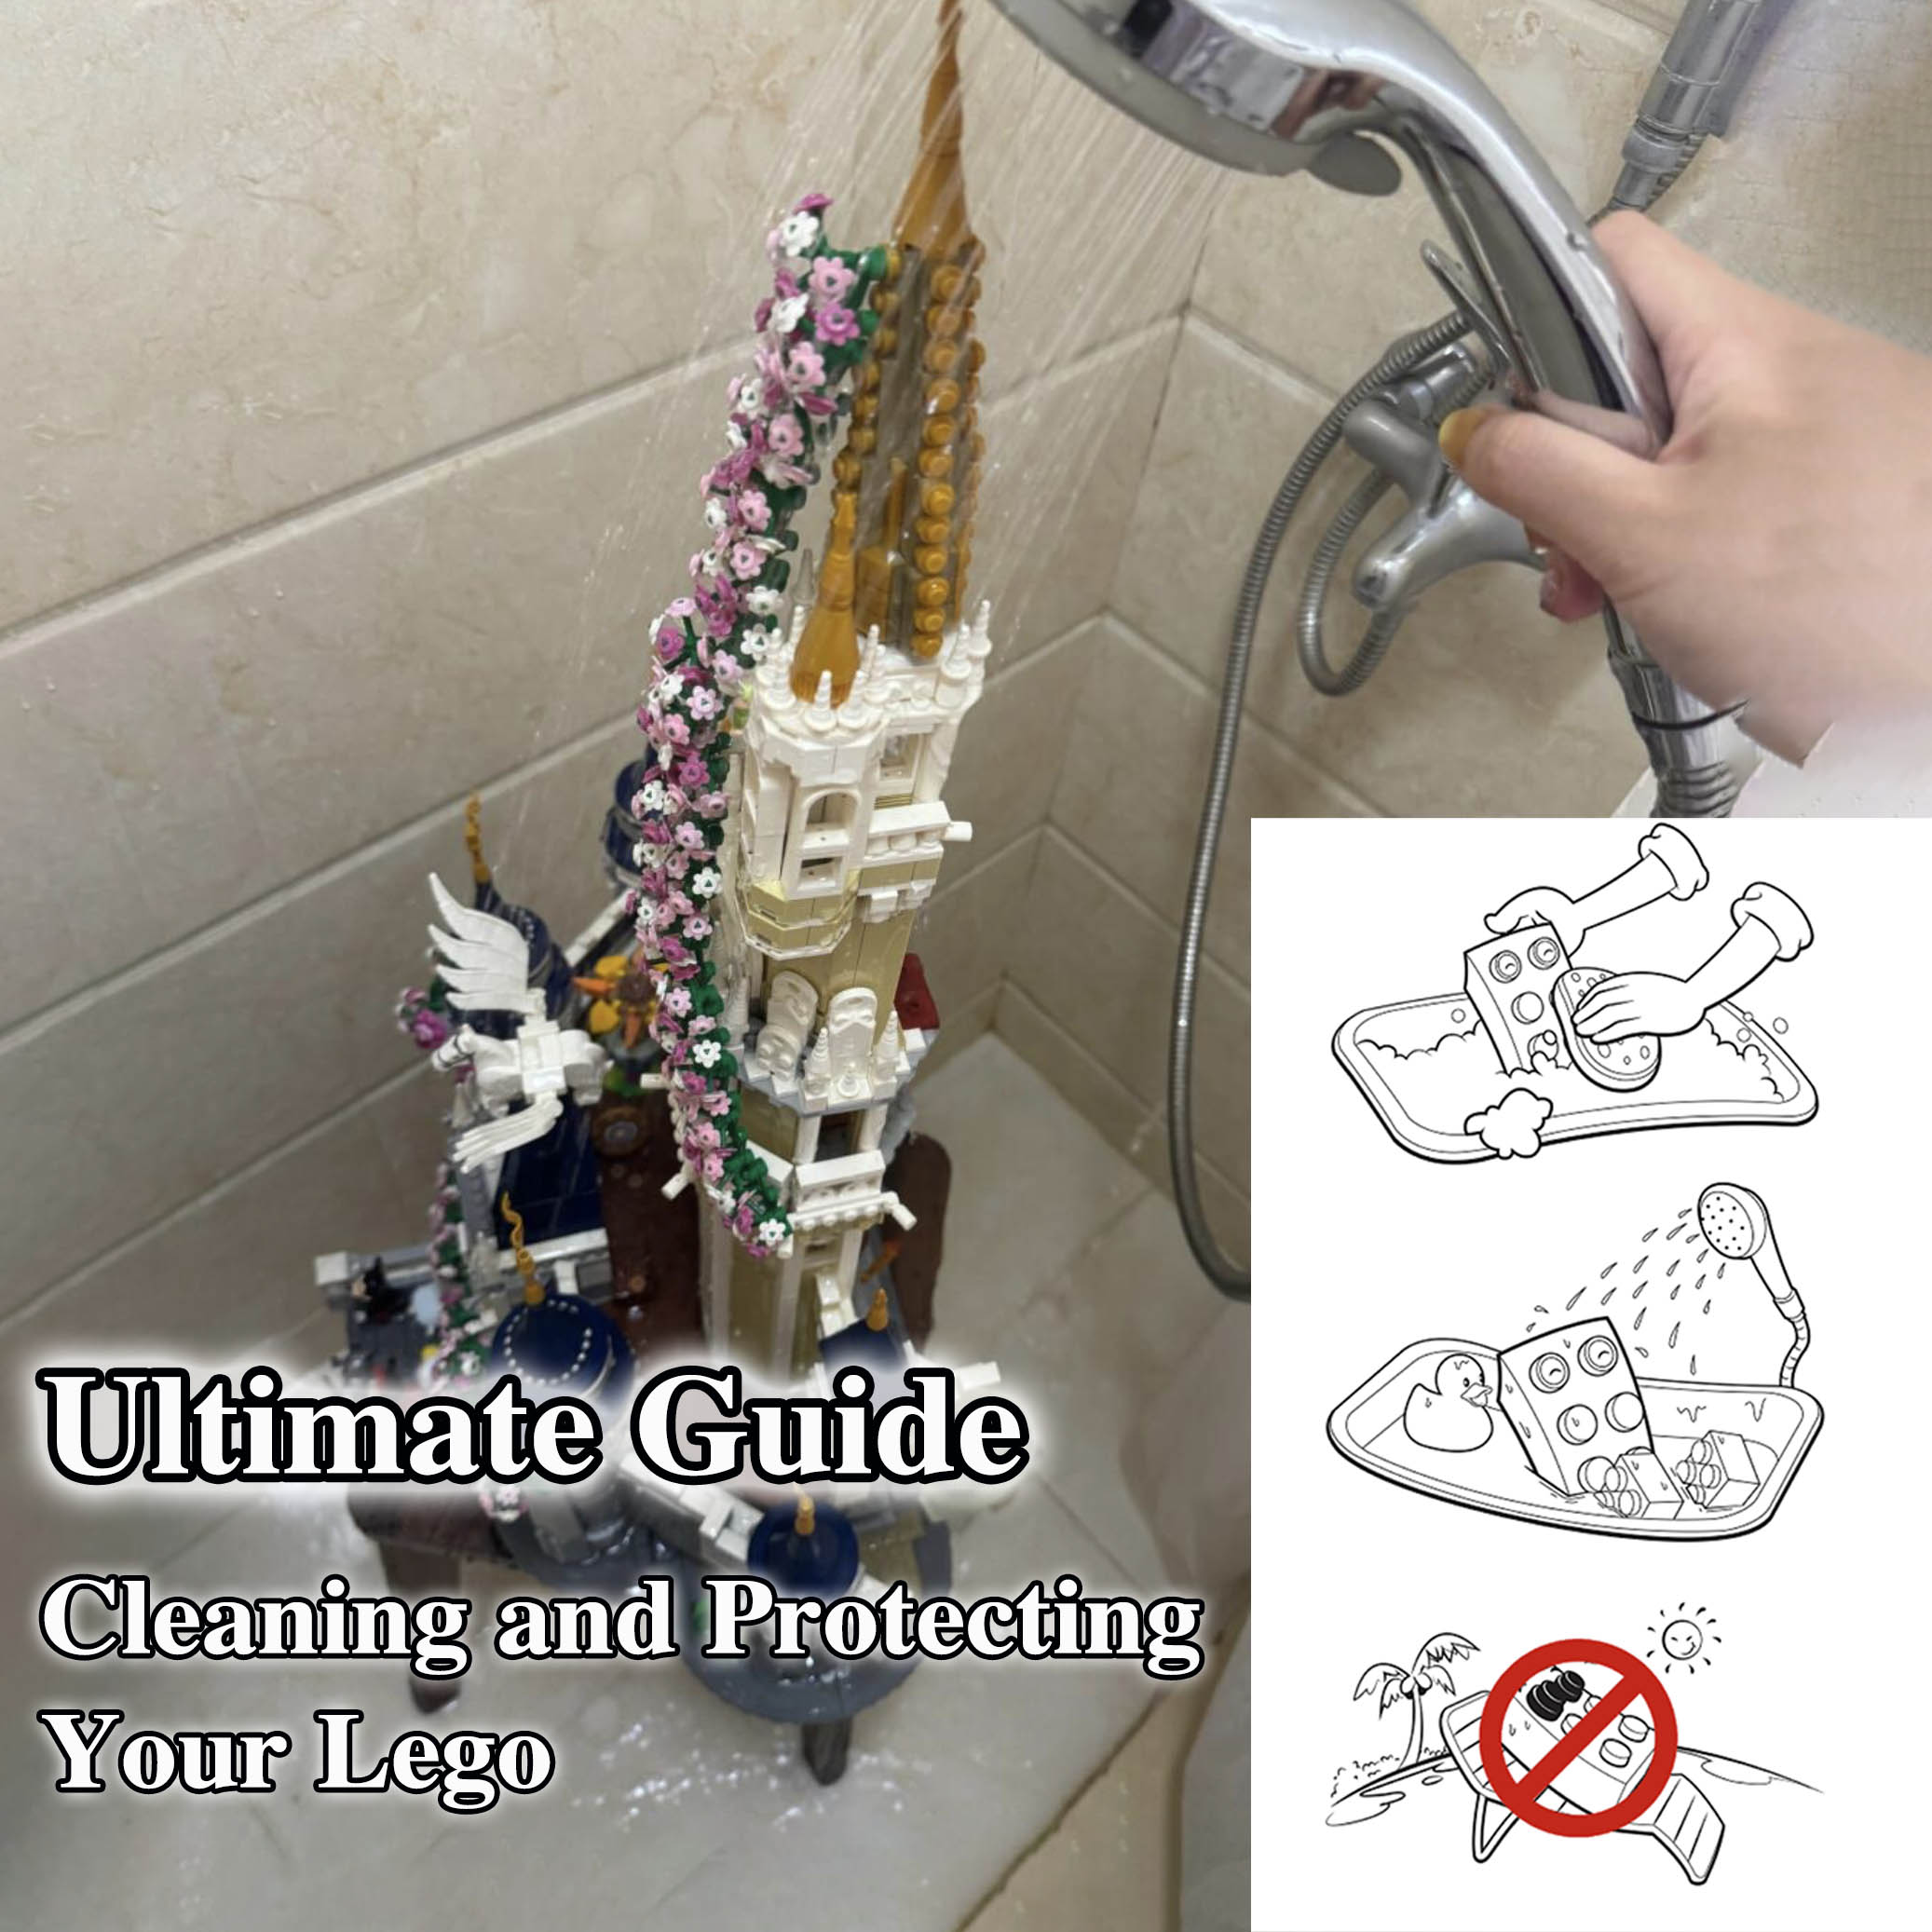
The Ultimate Guide to Cleaning and Protecting Your LEGO® Bricks
Keeping your LEGO collection clean is about more than just looks – it’s about preserving the quality, color, and longevity of your builds. Whether you’re a casual builder or a serious collector, this comprehensive guide combines the best community-tested cleaning methods into one practical, SEO-friendly resource.
Why Clean Your LEGO Bricks?
Over time, LEGO sets gather dust, fingerprints, pet hair, and even mild odors. Cleaning them helps keep colors vibrant, stickers intact, and your builds ready for display or photography.

"At this level of dirtiness I would personally just completely take it apart and wash the bricks with warm soapy water... put the stickered pieces separately."
Key Considerations Before You Start
-
Temperature: Use water no hotter than 104°F / 40°C to avoid warping the plastic.
-
Avoid Dishwashers: High heat and agitation can damage parts or peel stickers.
-
Separate special pieces: Remove stickered, printed, or electronic components before soaking.
-
Drying: Use soft towels and air dry completely before rebuilding. Avoid direct sunlight.
-
Hard Water Warning: If you live in a hard water area, mineral deposits can leave white marks – use filtered or distilled water for the final rinse.
Note: Although LEGO's official guidance allows soaking bricks in water for cleaning, many builders believe that washing can inevitably cause minor damage — especially to stickers — and may leave water residue or scale in small gaps. Therefore, the water-washing methods mentioned here are for reference only; proceed with caution.

Cleaning Methods by Situation
1. Light Dusting / Routine Maintenance
For display sets or models with surface dust only:
-
Use a soft-bristled brush (makeup or camera lens brush). Soft natural-hair brushes are recommended to avoid scratching the surface, while synthetic or stiff bristles should be avoided. Brushes are ideal for reaching tight corners and removing fine dust without disassembly.

-
Blow dust away with compressed air or a keyboard vacuum. When using compressed air, always keep a safe distance and use short, controlled bursts. Excessive air pressure can blow off small parts or drive dust deeper into crevices. Avoid holding the can upside down to prevent moisture from spraying out, and never use industrial-strength air compressors directly on LEGO models.
-
For fine details, use a small paintbrush or soft toothbrush.


Pros: Fast, safe, and no disassembly needed.
Cons: Doesn’t remove grime or oily residue.
2. Moderate Cleaning (Fingerprints, Light Grime)
For pieces that look dull or have mild dirt buildup:
-
Disassemble if possible.
-
Soak in warm (not hot) soapy water.
-
Agitate gently with your hand.
-
Rinse thoroughly until soap is gone.
-
Lay flat to dry on towels. Use a fan for faster drying.

Some users recommend using a salad spinner to remove excess water quickly for small parts.
Pros: Removes most dirt safely.
Cons: Time-consuming for large builds.
3. Deep Cleaning / Restoring Used or Old LEGO
Perfect for second-hand, attic-stored, or heavily soiled collections:
-
Place pieces in mesh laundry bags and run a gentle cold cycle in the washing machine (optional, at your own risk).
-
For sticky grime, use a toothbrush and mild detergent.
-
To remove odors, soak in a solution of baking soda and white vinegar.
-
To reverse yellowing, place cleaned parts in indirect sunlight or use mild hydrogen peroxide treatment (advanced users only).
Pros: Excellent for rescuing bulk lots.
Cons: Time-intensive and riskier for stickered or electronic parts.
4. Niche Community Methods
Beyond the common cleaning techniques, some LEGO enthusiasts share less conventional but interesting methods found in community discussions:
-
Cleaning gel or slime: Similar to keyboard cleaning putty, this tacky gel can lift dust from hard-to-reach crevices without scratching. It’s especially useful for detailed builds or minifigures, but must be replaced frequently as it collects dirt.

-
Rechargeable mini air dusters: Compact USB or battery-powered air blowers are an eco-friendly alternative to disposable compressed air cans, offering consistent airflow and lower long-term cost.
-
Air circulation systems: Some collectors enhance their display rooms with gentle air purifiers or circulation systems to reduce dust accumulation in the first place, combining this with sealed display cases for optimal protection.
These experimental methods aren’t mainstream but can complement traditional cleaning routines, especially for large or long-term displays.
From Routine Cleaning to Preventive Protection
Among the first three cleaning methods, most LEGO fans prefer the brush cleaning method. It’s quick, inexpensive, and doesn’t require disassembly, making it ideal for casual maintenance. However, this method needs to be performed regularly—otherwise dust can build up quickly again. For avid collectors who own multiple LEGO sets, it’s often unrealistic to brush each one frequently. That’s why many experienced builders take preventive dust-proof measures, leading to the next approach.
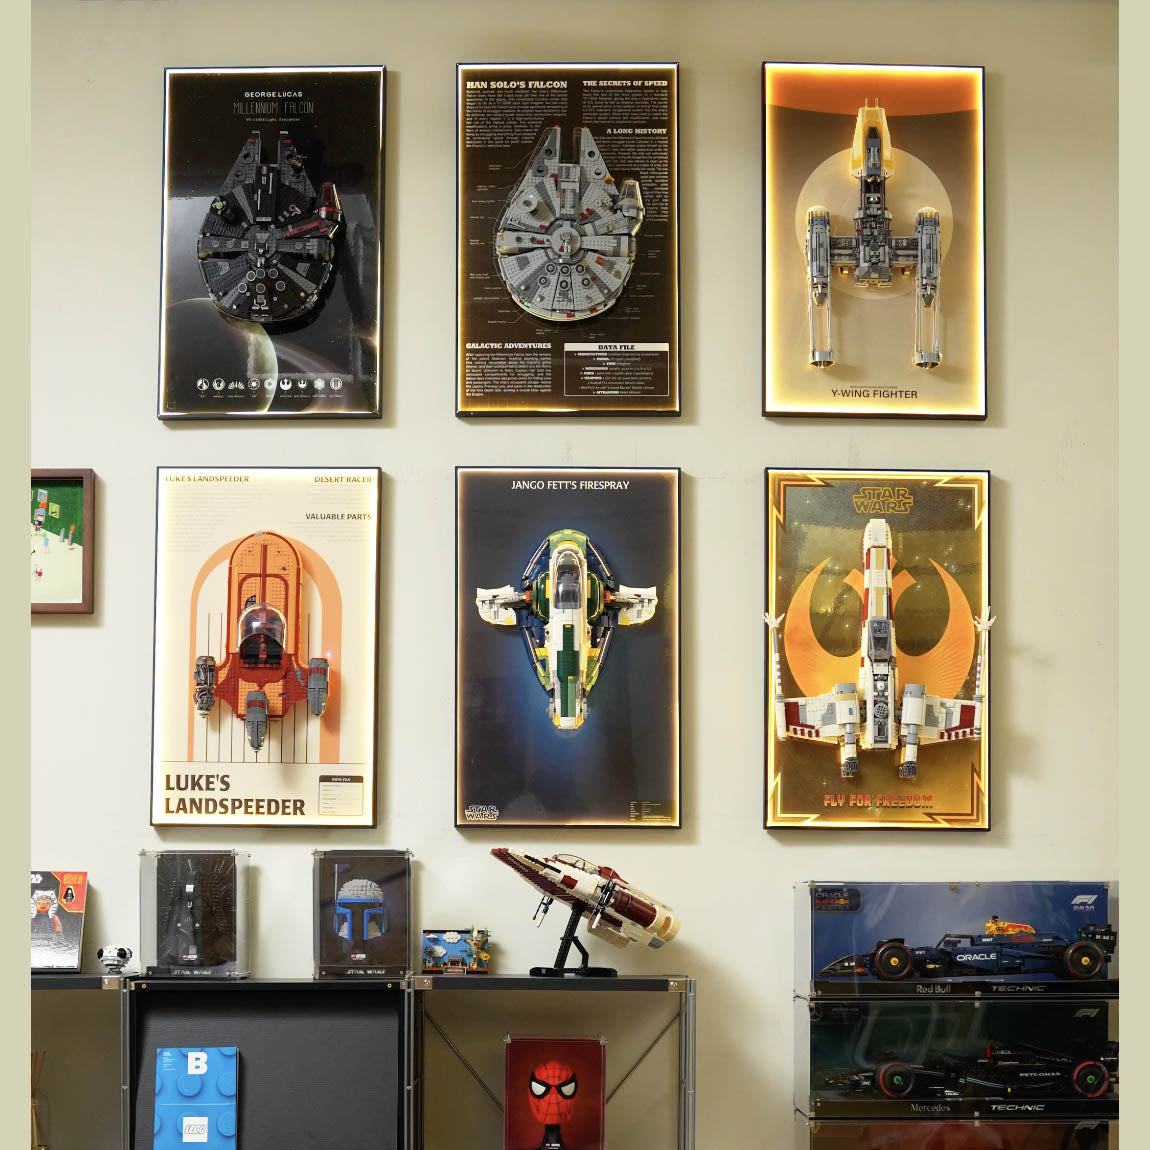
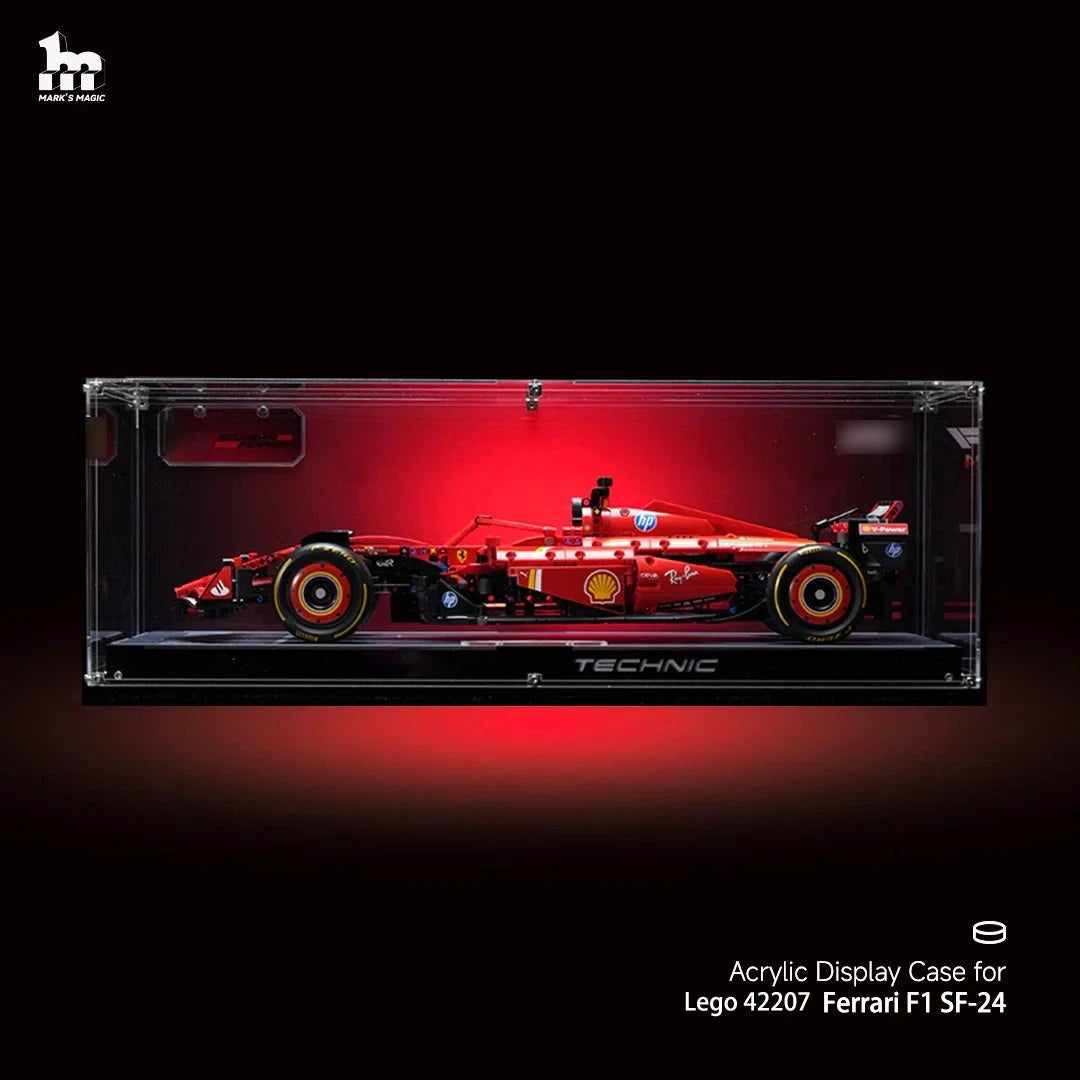
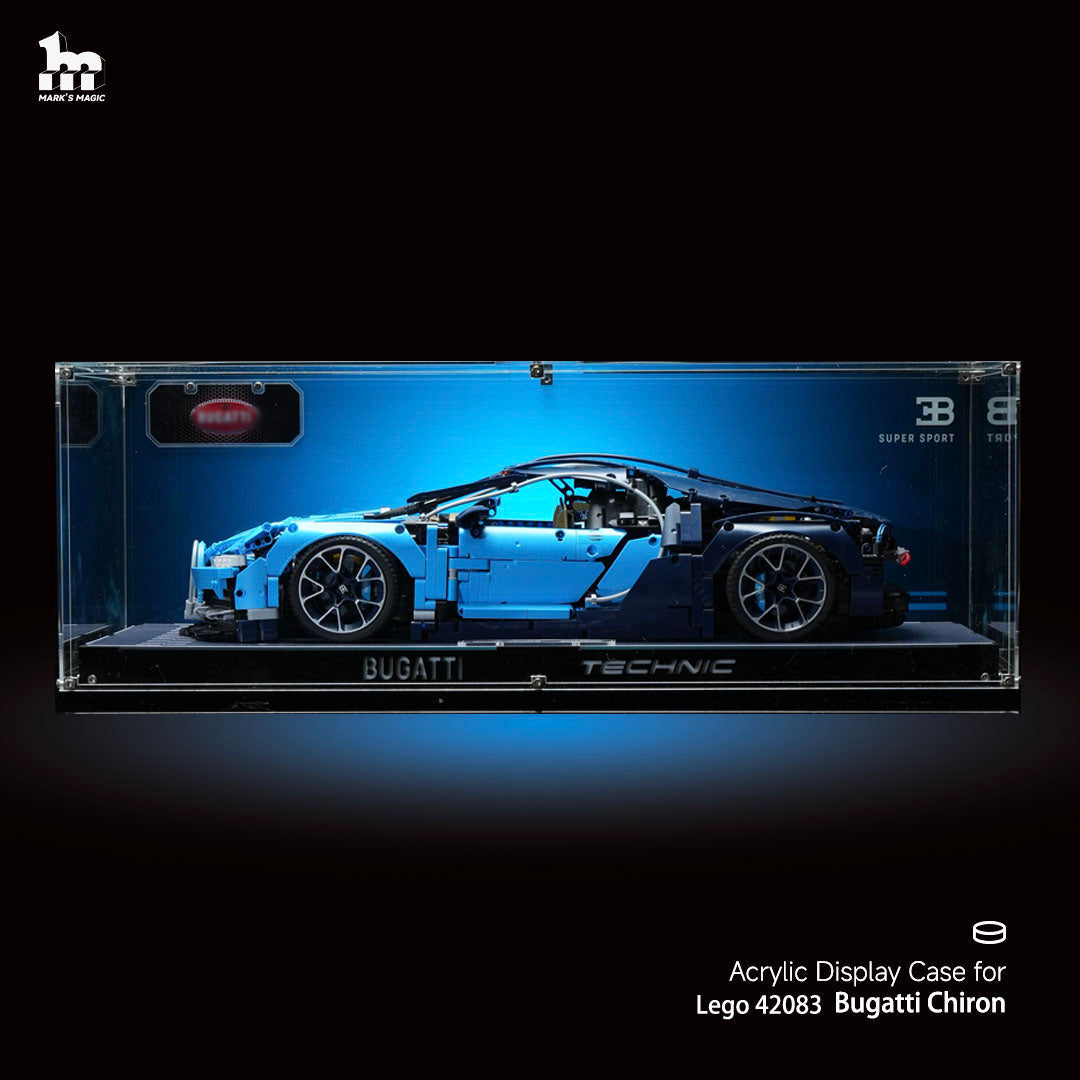
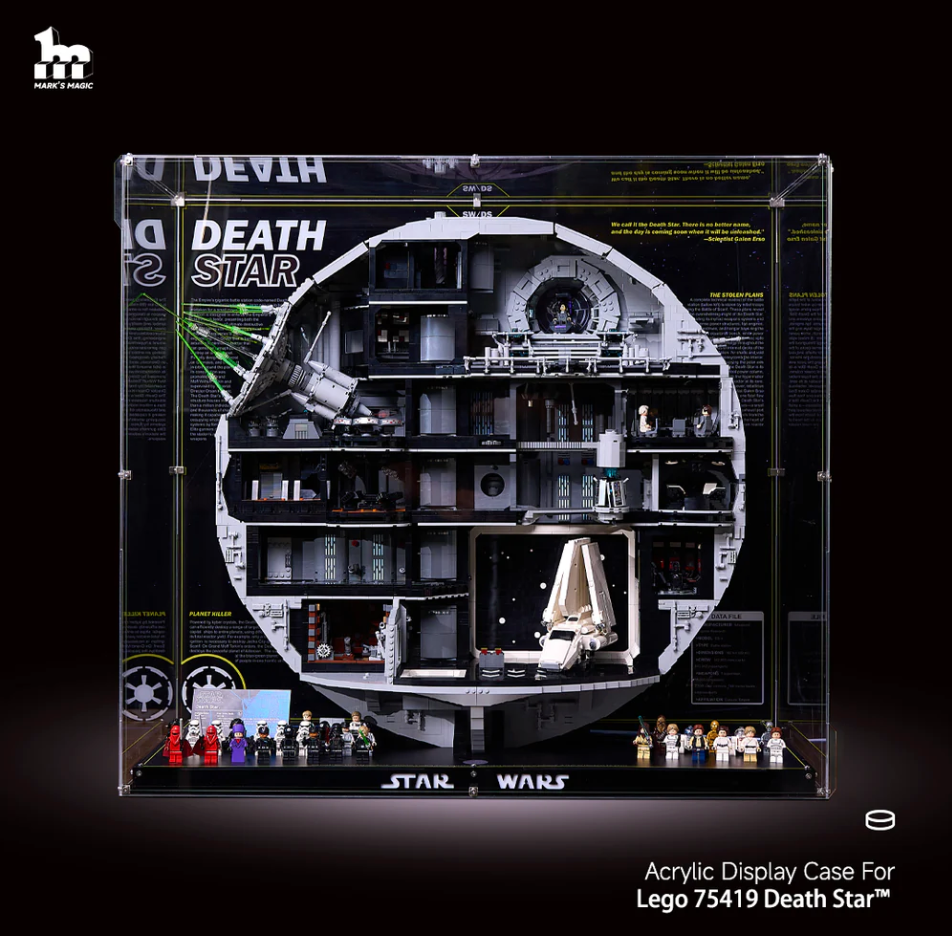
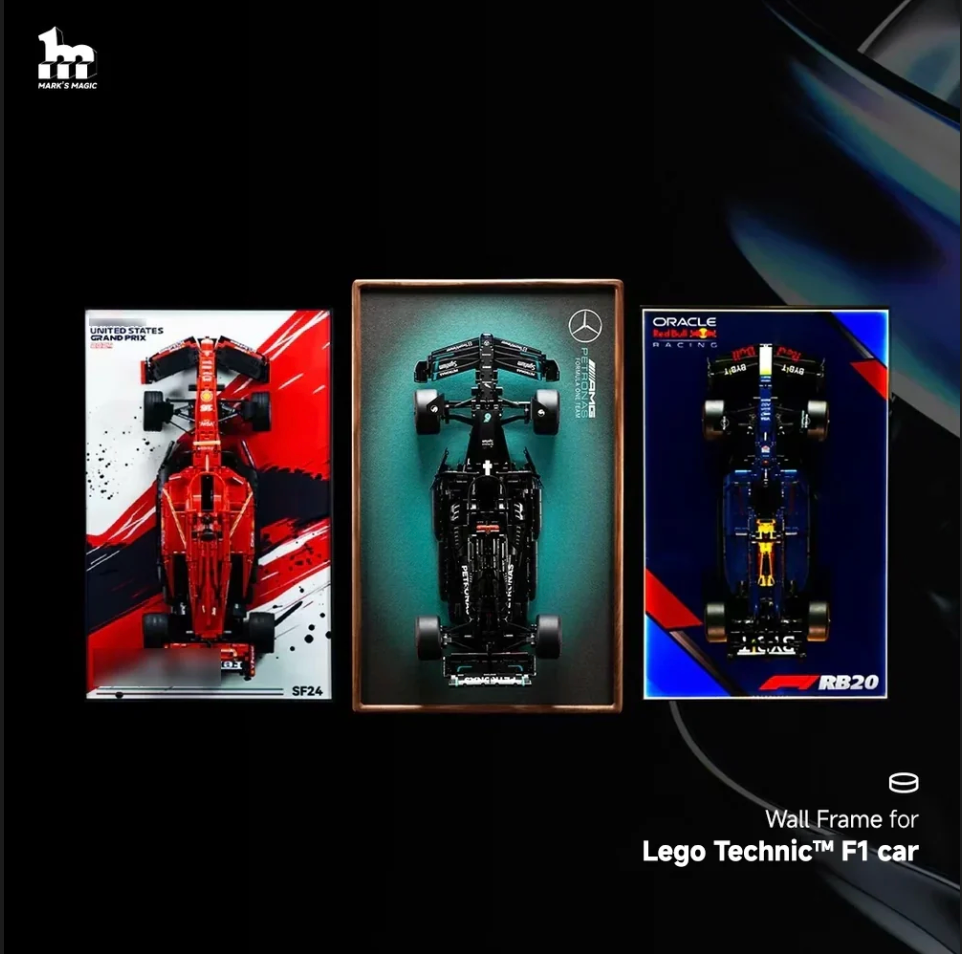
5. Preventive Method — Display Cabinets and Dust-Proof Solutions
To enhance this section, include a variety of dust-proof display options that LEGO collectors commonly use, such as sealed acrylic boxes, wall-mounted glass cabinets, enclosed shelving with sliding doors, or UV-filtered LED display cases. Describe the benefits and trade-offs of each in terms of clarity, accessibility, aesthetics, and cost to help readers choose the ideal protective solution for their collection. — Display Cases & Frames (Dust-Free Protection)

If you want to avoid cleaning altogether, the smartest move is to store or display your LEGO sets inside a clear acrylic display case.

Advantages:
-
Keeps LEGO sets virtually dust-free for years.
-
Protects from UV light, humidity, and accidental bumps.
-
Elevates your build into a museum-like display piece.
-
Minimizes handling, reducing risk of scratches or loose connections.

Disadvantages:
-
Requires additional space – large Technic or UCS sets need significant room.
-
You must find the right-sized case or order a custom display frame, which can take time.

-
Higher initial cost, but saves cleaning time long-term.
Still, for serious collectors, a fitted acrylic display case is the ultimate protection against dust and discoloration – and a visual upgrade that turns your LEGO build into art.
6. Special Case Handling
-
Stickered pieces: Wipe gently with a damp cloth instead of soaking.
-
Electronic parts: Never submerge; clean with microfiber cloth.
-
Hard water areas: Final rinse with distilled water.
-
Large static displays: Stick to gentle dusting instead of disassembly.
Drying and Storage Tips
-
Spread pieces in a single layer on towels.
-
Avoid stacking pieces while drying.
-
Ensure zero moisture before sealing in storage.
-
Store finished sets in dry, shaded areas with low humidity.
Quick Reference Table
| Scenario | Method | Time | Risk |
|---|---|---|---|
| Light dust | Brush / air blower | 10 min | Very low |
| Moderate grime | Warm soapy soak | 1-2 hr | Low |
| Heavy dirt | Mesh bag + deep soak | 2+ hr | Moderate |
| Preventive | Display case / frame | None (setup only) | None |
Final Thoughts
Cleaning LEGO is about balance: the right method depends on how dirty your set is and how much effort you want to invest. For collectors who want lasting shine with minimal work, a well-fitted display case offers the best long-term protection.
"Make-up brush and a hand-held keyboard vacuum is the ideal dual threat against dust on Lego sets."
"Soak them in warm water, a few baths and they’ll be all good!"
Choose your approach, take care with drying, and your LEGO collection will stay pristine for decades.
Written by MaZhiyuan


Leave a comment
This site is protected by hCaptcha and the hCaptcha Privacy Policy and Terms of Service apply.